
Let's make a Starter MYO!
This guide will walk you through the process of creating your own Starter
This page is about the character design and approval process for Starter MYOs. It does not include info about how to obtain them in the game. The instructions in this guide will help you understand your Starter's ID info, traits, and design limitations.
You can find instructions for obtaining your own Starter at the Nursery.
If you claimed a Starter but would like someone else to draw the masterlist artwork for you, then you can post an ad in the Advertisements folder seeking an artist for your Starter. You can get help for free or you can commission someone. You can also take a look through the Resources folder to see if there are any free MYO bases available.
If you have claimed a Starter, and now find yourself wishing to part with it, please review the rules for their ownership transfers.
An overview of your Starter ID
Your Starter will have a list of predetermined traits and properties that you must adhere to when making your character.
Here is a brief walkthrough of the claim information before we go into greater detail:
It helps to do some research
Most Nursery lists have Starters that are all from the same boundary. Doing some basic research about their environment before starting your design can provide great inspiration and teach you some facts about their habitat or nature feature that might influence how you approach their story or appearance. Doing some research can reveal interesting variations for your nature feature or help you make your biome selection. |
Each claim is labeled with a letter
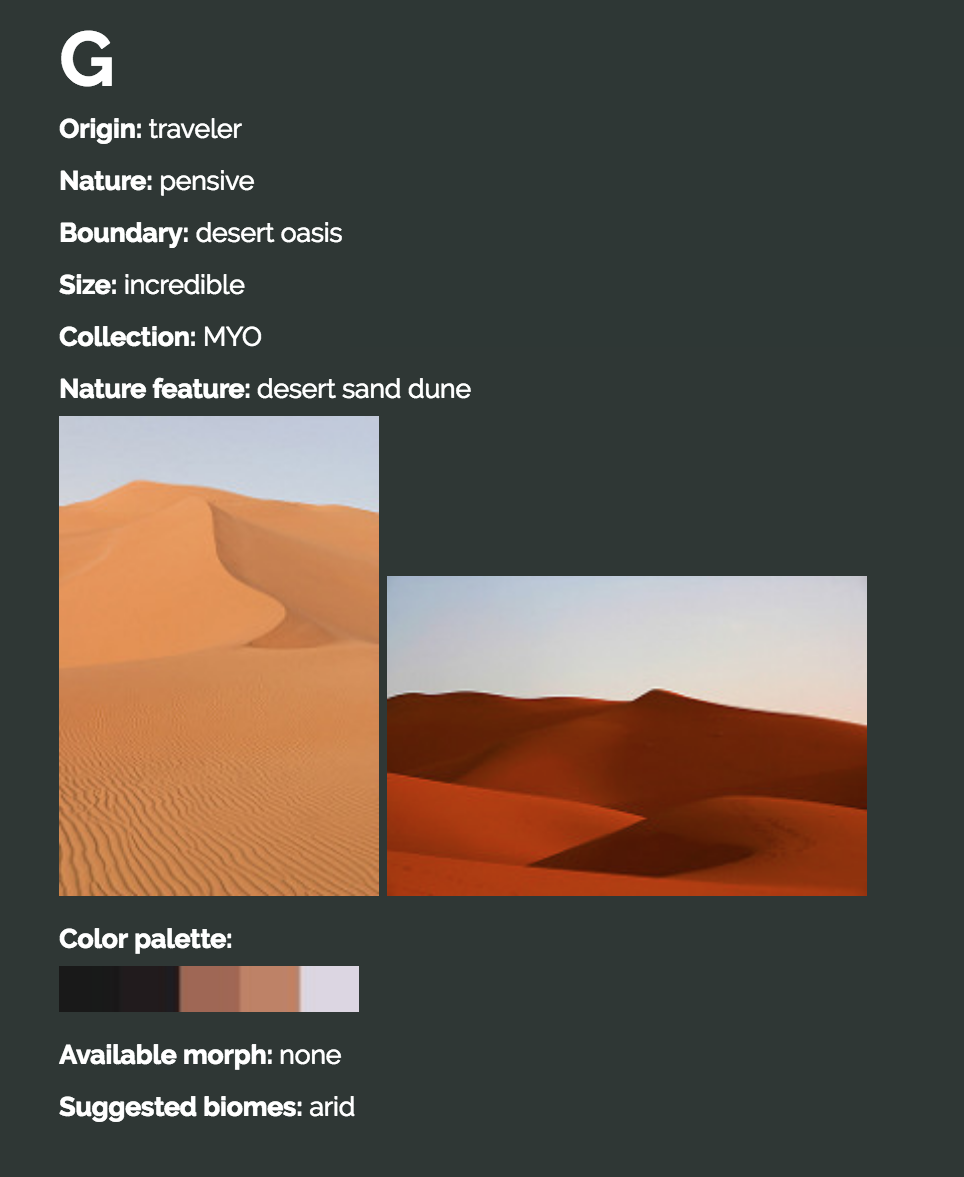
This is what you use in your Starter claim to identify which one you want, it has no effect on your design or character. Origin, Nature, Boundary, Size These are the Starter's ID information that go into the masterlist. You can read more about Origins and Boundaries here in the species guide. The ID information should provide inspiration for your design by telling you a little about their personality, size, and environment.
Collection All Starters are placed in the MYO collection. This does not have any effect on your design. Nature Feature Each Starter will have a nature feature listed and then 2-3 photo examples for you to use as reference material. These photos are intended to give you an idea of what the nature feature should look like, but you do not have to copy them exactly, and are encouraged to research for more. Color Palette These are the colors that are available for you to use for your design. You cannot add new colors to the palette, but you can blend the provided colors together. Available morph If your Starter qualifies for one of the esk morphs it will be listed here. Suggested biomes These are the biomes that are considered to be most appropriate for the boundary and nature feature that is being provided. They are there to help you make an appropriate choice for your biome sign-up. |
Getting started: Basic anatomy
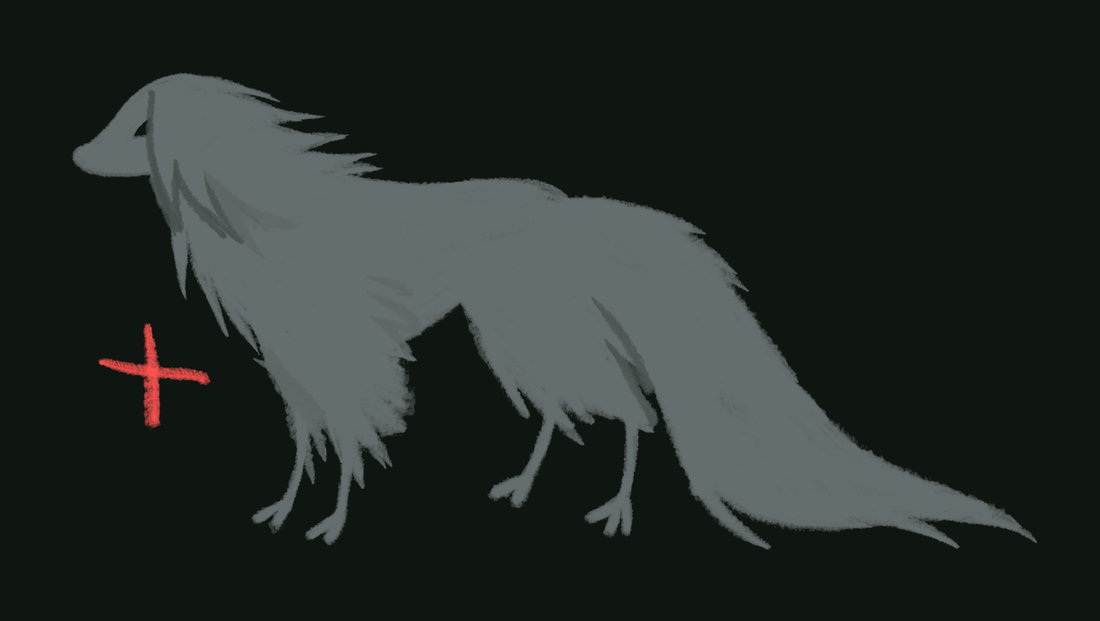
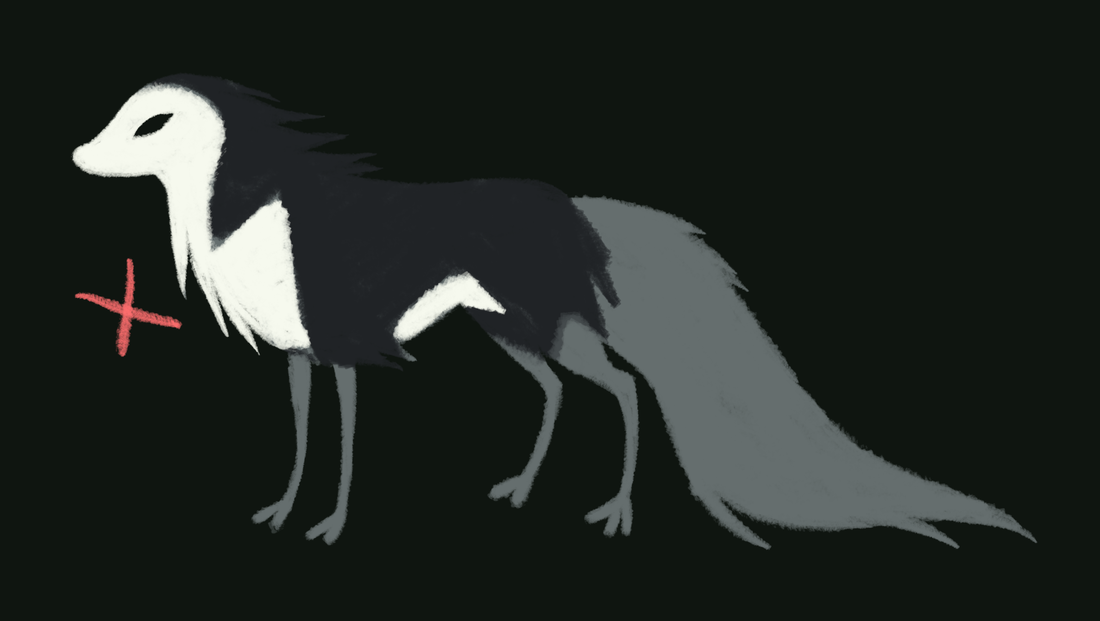
The standard esk form is dog-like with long fur and thin legs, but you are not restricted to using this body type only. Esk come in a wide variety of shapes and sizes so you can have fun trying out different proportions or styles. Sometimes it is helpful to look at animals from your Starter's habitat for inspiration. Remember to follow the rules outlined in the anatomy guide.
You have a lot of freedom with the body type — have fun with it! Just remember to keep the provided size description in mind. Example: f your esk's size is "tall" it should not have stubby legs. Size descriptions are open to interpretation so you have more flexibility in your designs. There is no official size chart or rules about what is "small" and what is "large" because we want you to have some extra freedom in your design. Let the size description inspire you and go from there!
You also have freedom with fur texture as long as you do not use any uncommon traits such as sleek fur, shaggy fur, or false ears (read the uncommon traits guide for more info). The fur can be curly, wavy, poofy, shiny, matted, stringy — there are lots of options available to you. Just make sure the esk has some medium to long fur on the body
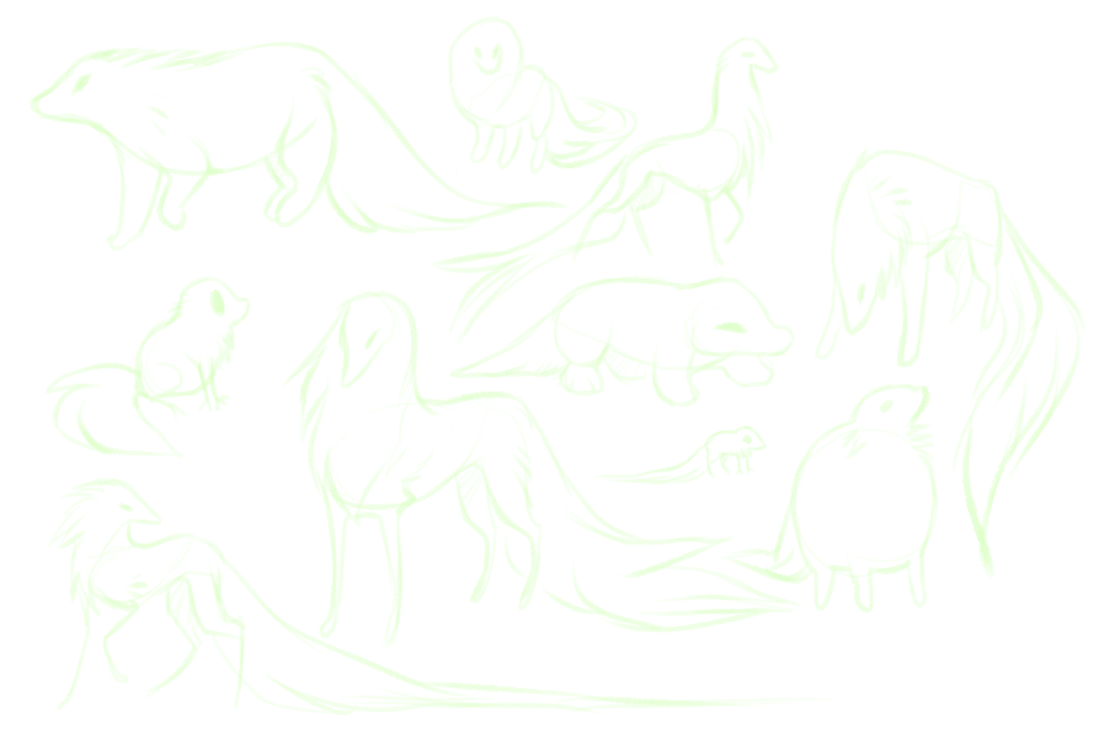
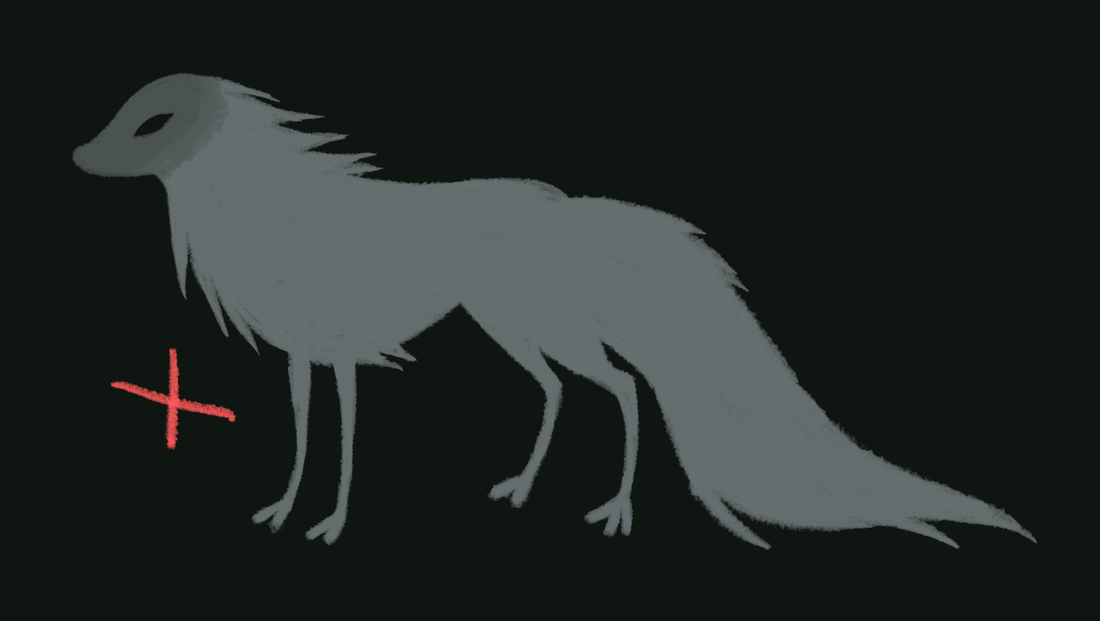
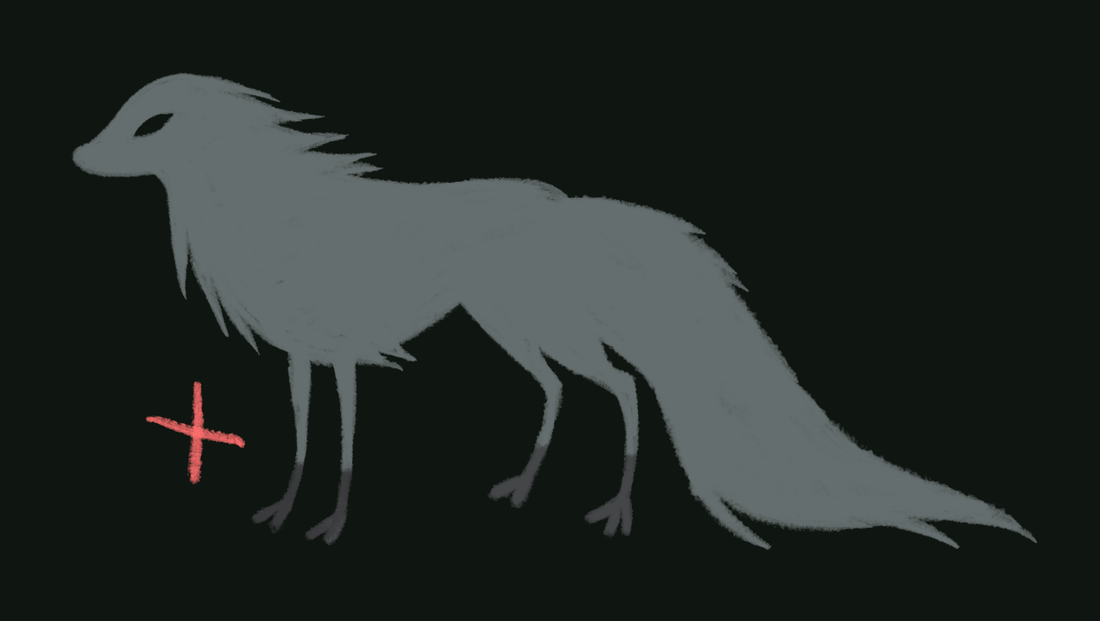
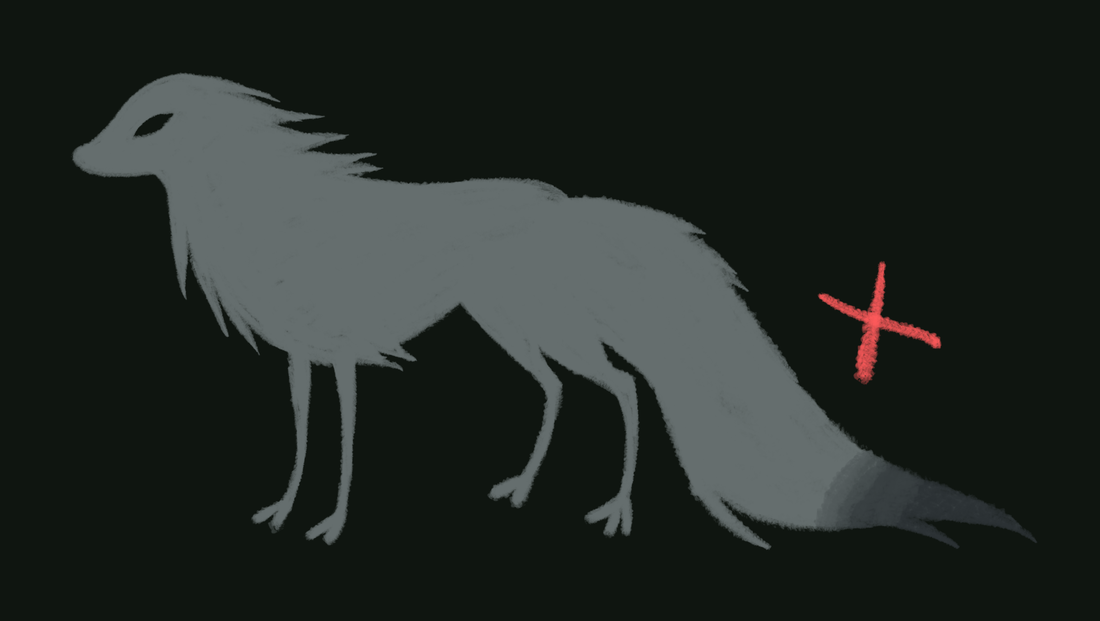
Here are some examples of acceptable body types, but you are not limited to these types:
|
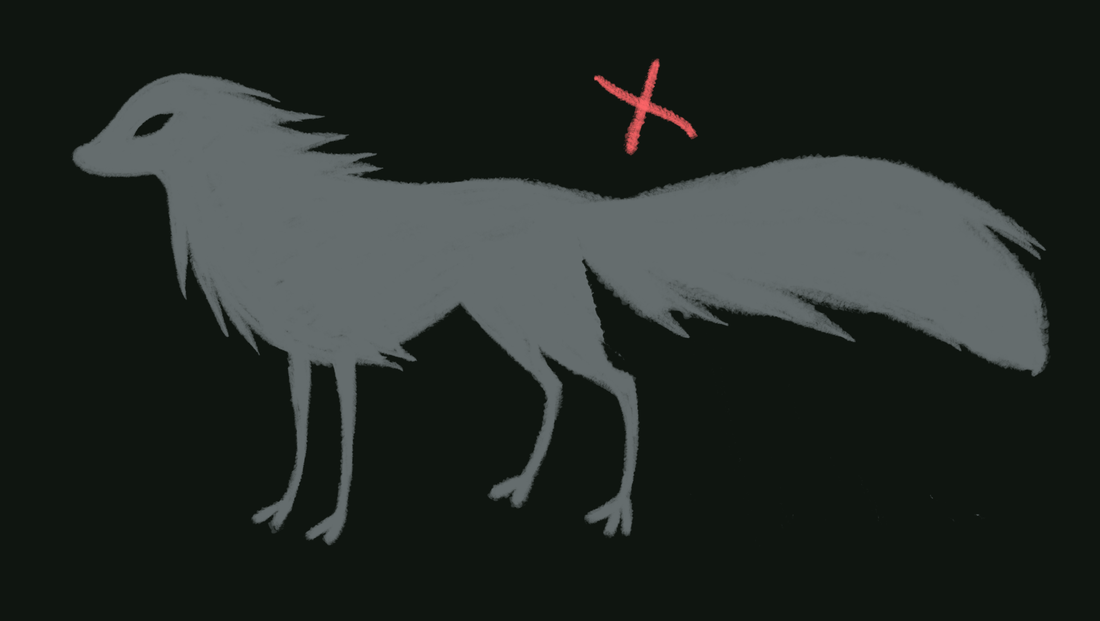
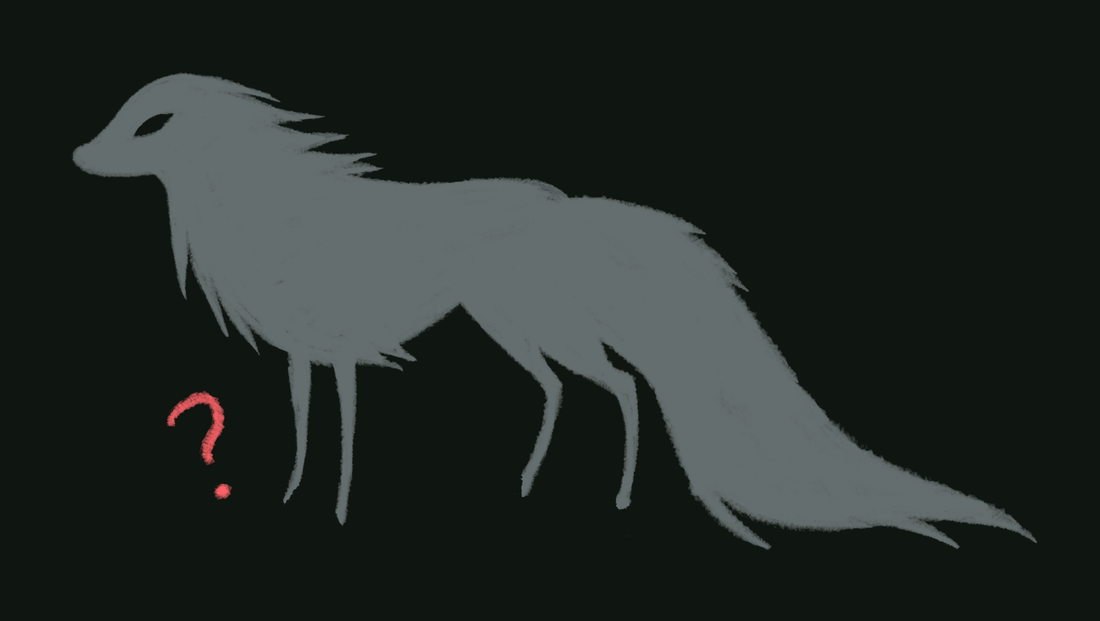
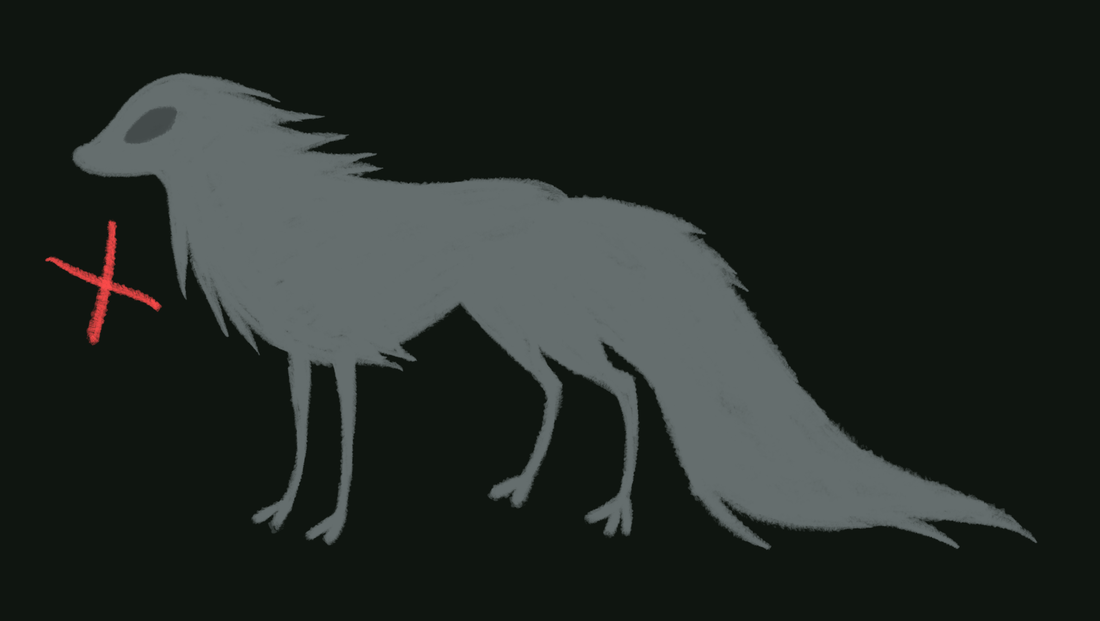
Some common anatomical mistakes:
|
|
Morphs
If your Starter information lists an available esk morph you are welcome to use it for your design. Make sure you read all of the morph's guidelines before getting started. Using a morph allows you access to some uncommon and unique traits that would otherwise be unavailable to Starters!
If your Starter information lists an available esk morph you are welcome to use it for your design. Make sure you read all of the morph's guidelines before getting started. Using a morph allows you access to some uncommon and unique traits that would otherwise be unavailable to Starters!
Nature features: Portrayal and placement
Spend some time looking over the photo examples to get familiar with the nature feature before looking up other references. Some nature features or plants can have the same or similar common names and you may find yourself referencing the wrong species or variety, so make sure any new references you find match what was provided in the photo examples! You are not required to rely exclusively on the photos that were provided to you, they were chosen for being a good representation of the species/feature but you are free to do as much research as you need. If the photos provided show a plant in a pot, garden, or greenhouse it does not mean that you have to put your esk in the Developed biome! These are just good reference photos for the species and are not related to the esk's habitat, boundary, or biome. Take some time to do some research to learn about your nature feature and its varieties; you can use naturally occurring variations in your design as long as the Starter information does not indicate otherwise.
Nature features can be hard to draw! There is no pressure to draw every single leaf in a tree or every speck of texture in a rock, just do your best to get a clear and accurate depiction for your character. You are free to put as much or as little of the nature feature on your esk as you want and you are not required to be super detailed or realistic as long as the nature feature is recognizable enough to serve as a reference for your character in the masterlist.
Some reminders for designing nature features:
- You can put the nature feature anywhere you like on the esk.
- You can have multiple areas have nature features (like some on the head, some on the body, some on the tail).
- You can have some parts of the nature feature floating in the air as long as some features are attached to the body.
- You do NOT have to use the colors in the color palette for your nature features! Please use accurate, realistic colors that are referenced from photos.
- You can draw a plant at any life stage or seasonal variation as long as it is realistic for the species. You can also draw any structure of the plant you want, you are not required to show the entire plant. Example: you can use just one leaf instead of a whole tree.
- You can also mix and match plant structures if you like. Example: you are allowed to have leaves in one area and flowers on another.
- Be careful about overlapping with accessories, your nature feature should be true to how it exists in nature. Example: if you receive a rock feature you cannot have it formed into an artificial shape or have carvings on it.
- You can only use the ONE nature feature that has been provided for you. Example: if you receive an ivy that usually climbs up trees, you are not allowed to include the tree. You could only show the ivy alone on the esk's body, but you could purchase the tree later on in the Energy Exchange if you like!
Color palettes: Appropriate markings for your esk
There is a lot of information in the coloration section of this species guide that should be helpful. If you stick to the provided colors and use soft edges on your markings you should not run into any problems. If you are doing digital art we recommend using the eyedropper tool to get accurate colors, but if you only have traditional media you are allowed to work within the restrictions of your art materials as long as it shows a clear effort to match the colors that have been provided.
Use of the color palette you have been provided is required, you are not allowed to use colors that are not in the palette! You can use all of the colors or just a few, but you must use at least two colors because solid coloration is a rare trait that is not available for Starters. Within the palette you are permitted to go a bit lighter or a bit darker as long as it is clear that you are making minor adjustments to the palette and not attempting to add in new colors. Staff does not go over your masterlist image with an eyedropper tool to check your work, as long as you have made your best effort to follow the palette your design should be acceptable. You are allowed to use one of the dark colors in the palette or darken one of the palette colors to color the eyes as long as it is significantly darker than the rest of the character's coloring, or you can simply use black (the most common esk eye color). Putting a sliver of a lighter color around the inner edge of the eye is acceptable (this is common).
Remember to take a look through the uncommon traits and rare traits guides so you know what sort of markings to avoid. If you want these traits for your Starter you can earn them after using them in the game and earning enough Growth Points to trade in at the Energy Exchange, but for now you must use common markings only. Common markings have soft edges and are usually not very complicated.
Starters are not able to change colors with the seasons! Players are allowed to draw their esk with slightly lighter coats in winter and slightly darker ones in summer, but overall esk do not have seasonal variations so this is not something that is available to you for your Starter design.
|
Some common coloring mistakes:
|
|
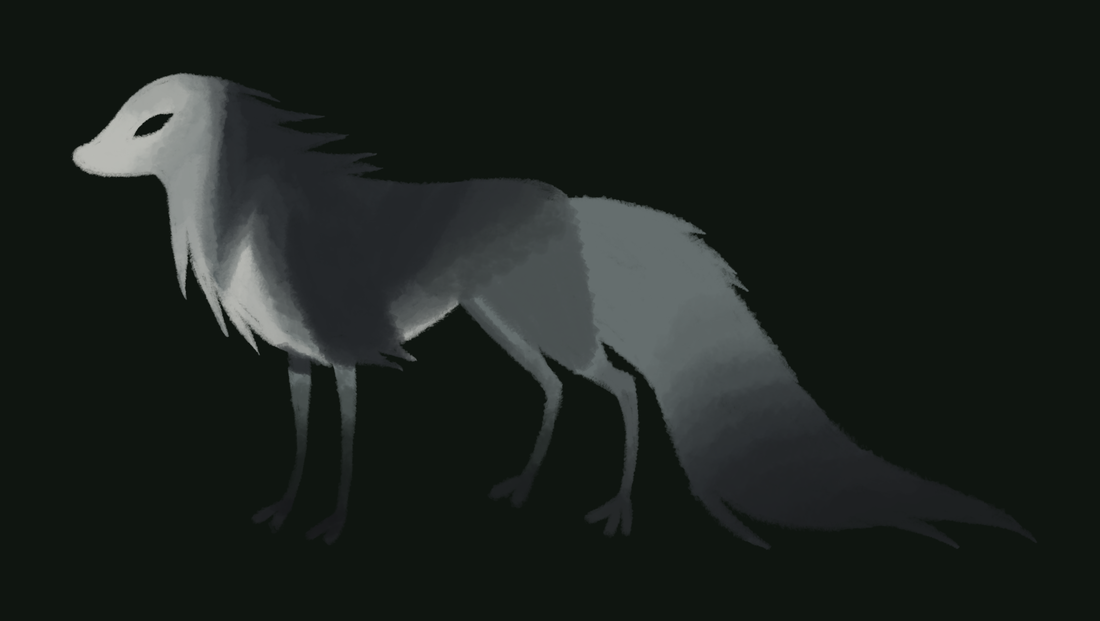
Here is an acceptable Starter design that avoids these issues by using blended markings:
Finishing up: Checking your work
We highly recommend taking some time after you finish your design to double check your work and make sure you are happy. We know you are eager to get started in the game but you'll want to make sure everything is in order before it gets made official in the masterlist. Once your esk is made official it cannot be revised without making purchases in the Energy Exchange so it's best to review your Starter before submitting it for approval.
Is this a character that you will feel inspired to draw or write about? Is the design too complicated or hard to draw? Would it help to get some input from a friend? It can be helpful to ask yourself these questions before finalizing your design. It's also good to double check that you have accurately portrayed the nature features and followed the palette accordingly, all of this will help make the approval process go quickly and smoothly.
Getting your esk!
Reply to your comment thread at the Nursery with your final artwork to get your esk approved and added to the game. As soon as your masterlist entry has been posted you will be able to create your character tracker, sign up for a biome, and start collecting points!
Some final tips:
Have fun, and welcome to TWWM!
Reply to your comment thread at the Nursery with your final artwork to get your esk approved and added to the game. As soon as your masterlist entry has been posted you will be able to create your character tracker, sign up for a biome, and start collecting points!
Some final tips:
- It's best to provide an image file that is 600x600px or larger for the masterlist.
- Including color swatches, ID text, and multiple views in your masterlist artwork is acceptable.
- If you collaborated with or commissioned another artist make sure you tell the staff so they can receive proper credit in the masterlist information!
- You are not able to change the Starter's ID information. This includes the origin, nature, size, and boundary — these are permanent, even through ownership transfers.
- Starters are MYOs that are earned in the game and have special rules for their ownership transfers. Starters can only be gifted to other players or swapped for other esk characters. They cannot be sold because they are considered a free gift to the community.
Have fun, and welcome to TWWM!
